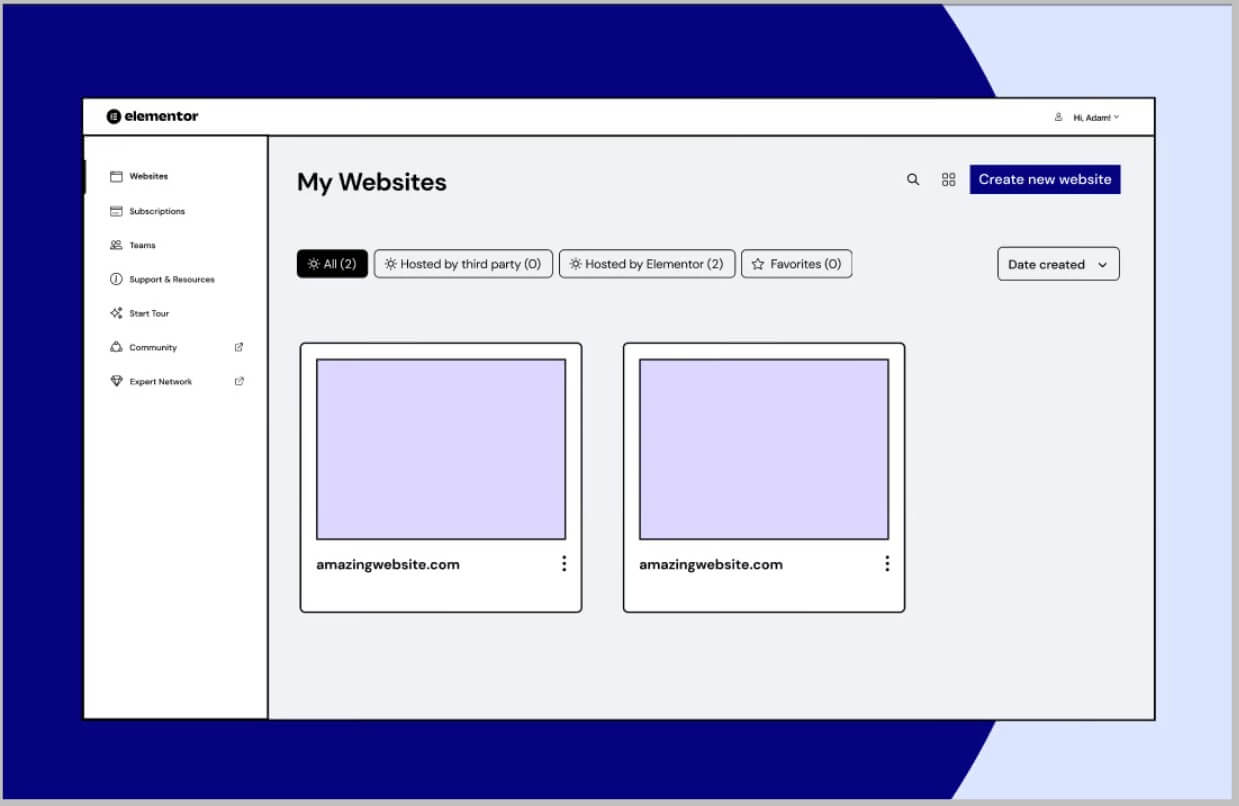
Elementor Cloud Website Dashboard Overview
Have you just signed up for Elementor Cloud Website subscription and looking for a guide to familiarize you with its dashboard.
If yes then in this article we have shared what each option inside your Elementor Cloud Website dashboard does.
This is a complete overview and by the end of it you will be completely comfortable with the Elementor Cloud Website management dashboard.
In case you are not familiar with Elementor Cloud then let me tell you briefly about it.
Elementor Cloud Website is a all-in-one platform using which you can build your site from scratch hassle free.
It includes everything from a web hosting to WordPress theme and plugins. Below is the list
- Built-in hosting from Google Cloud Platform
- CDN by Cloudflare
- Free SSL
- 20 GB Storage
- 100 GB Bandwidth
- 100,000 monthly visits
- Automatic daily backup
- Custom domain name connection
- Pre-installed WordPress
- Elementor Pro (All features)
- Hello theme
- 24/7 Support
And more.
It is priced at $99 / year and when you sign up for it, it requires you to create an account on Elementor.
And this is from where you will manage your Cloud Website subscription and the site hosted / created using it.
It is important to know here that most web hosting companies provide cpanel for management while some have custom dashboards like Elementor Cloud and others have a hybrid system.
Elementor Cloud Website is managed using the My Elementor dashboard and in this article we will give you a complete walkthrough and discuss what each option lets you do.
Kindly note- My Elementor dashboard is used to manage Elementor Pro subscription as well and we are using both.
In case you are not a Elementor Pro user but have the Elementor Cloud Website subscription then there will be a few missing options
Keeping this in mind, below are all the topics we have covered.
Access your Elementor Cloud Website dashboard
In order to manage your site created using Elementor Cloud, it requires you to login to your Cloud Website dashboard.
As discussed above, when purchasing Elementor Cloud Website subscription, you create a free account on My Elementor and it is this account that you will be logging in to manage both the subscription and website.
To access your Elementor Cloud Website dashboard, you need to visit Elementor and click Login on the homepage.
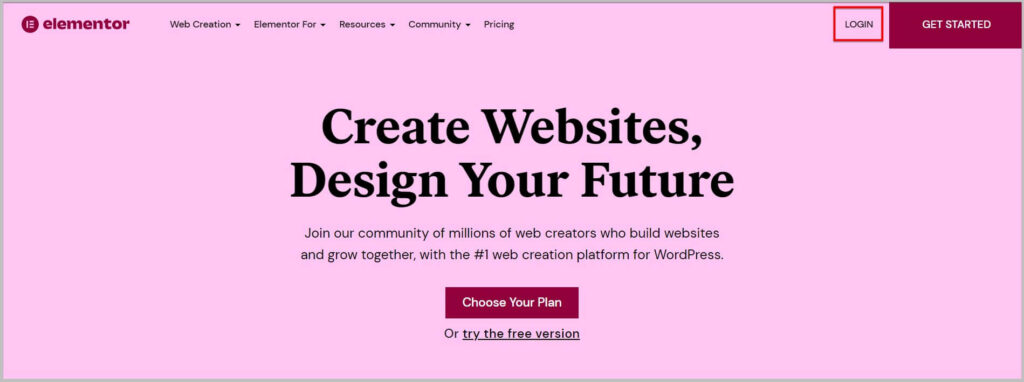
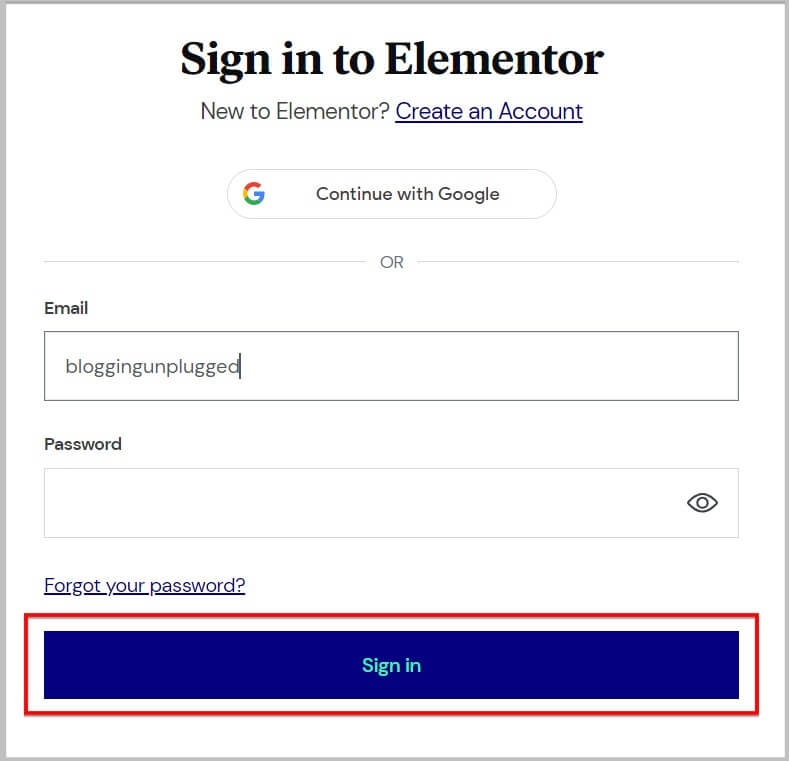
Doing this will take you to the My Elementor login page where you need to enter your credentials to sign in.
Website tab in Elementor Cloud Website
Once you have successfully logged in, it will take you to the Website tab where you will see all the Websites that are using Elementor Cloud or Pro subscription.
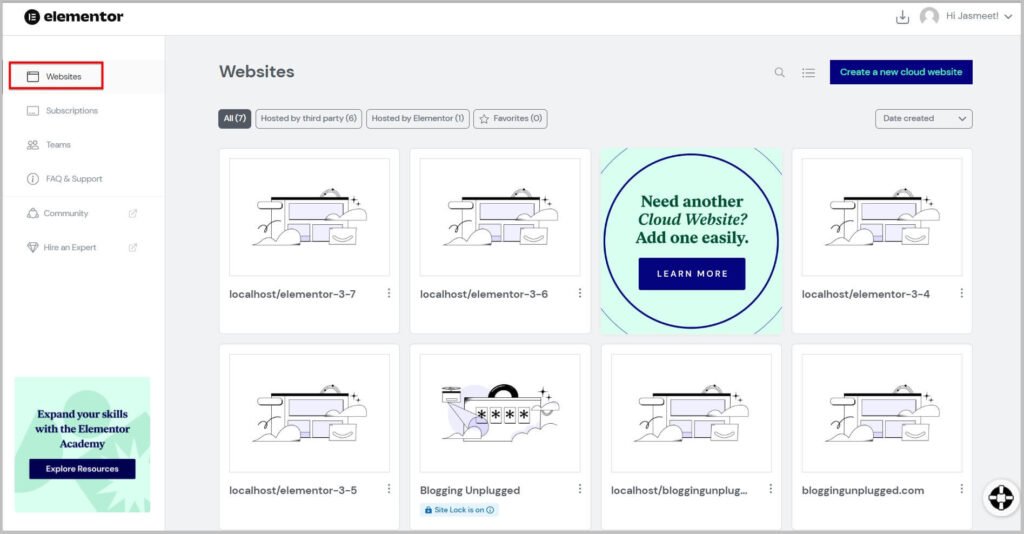
As discussed before, if you have subscriptions for both Elementor Cloud Website and Pro then you will see all of the websites listed here with the option to display / sort based on where these are hosted on top.

Here you will have to click Hosted by Elementor and it will show you the site using Elementor Cloud Website.
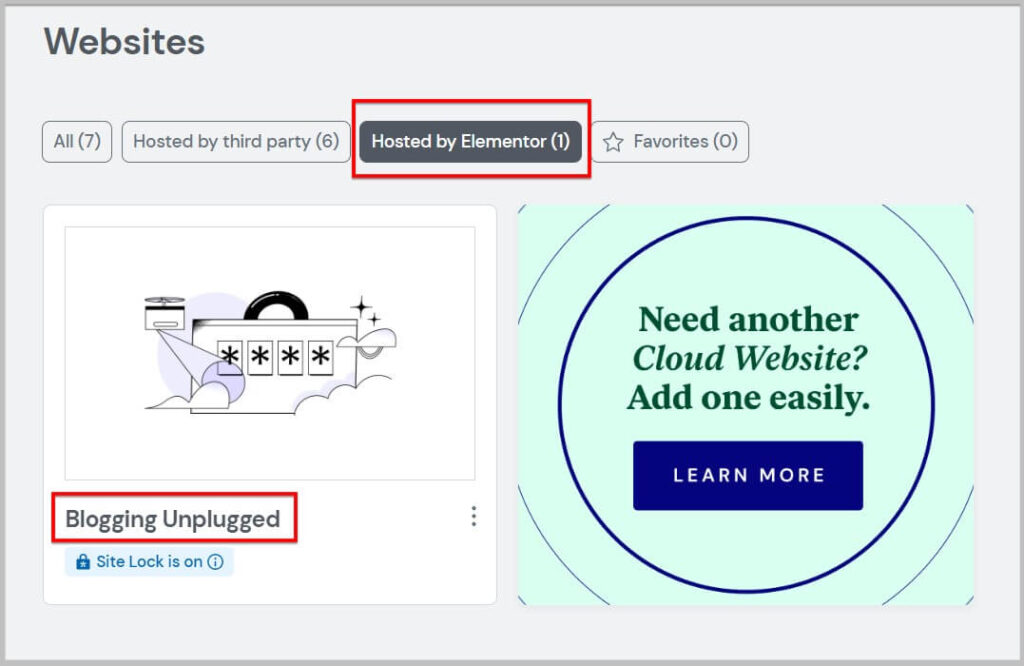
It is important to know here that if you only have the Elementor Cloud Website subscription then all of the sorting options will be missing.
And it will directly show you the site hosted on Elementor Cloud.
Apart from this, in the Websites tab you will also see a button to create a new Cloud Website on the top right.

This button is for you if you want to buy another Elementor Cloud Website subscription and clicking on it will take you to the checkout page where you will have to pay.
Options on Elementor Cloud Website listing
Moving on
The next set of options that we are going to discuss are on the Elementor Cloud Website listing and these will be visible when you hover your pointer over it.
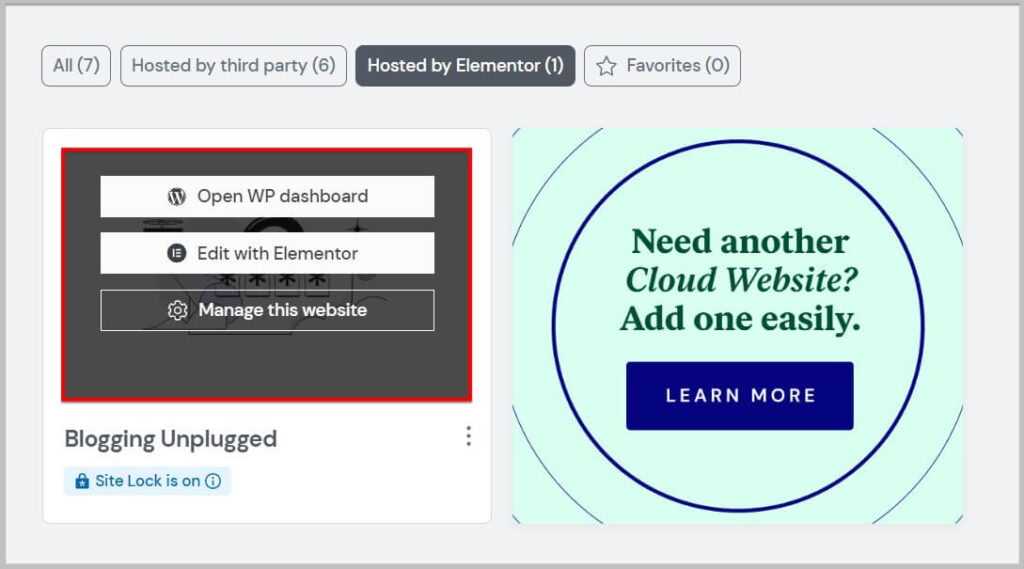
Here you will see 3 options
- Open WP Dashboard
- Edit with Elementor
- Manage this Website
Open WP Dashboard
If you want to visit your site’s WordPress dashboard then you need to click this option and it will directly take you there.
In case you are new to WordPress and are not familiar with this then let me tell you WordPress dashboard or admin is the backend of your website.
It is the place where you will spend most of your site as it allows you to
- Create and manage posts and pages
- Install plugins and add new features
- Create and manage templates, popups, sections, parts using Elementor.
And more.
Edit with Elementor
As the name suggests, clicking this option will take you to the Elementor editor where you will be able to edit the homepage of your site using the Elementor website builder.
In case you want to edit or create other pages and posts then you will have to navigate to the respective section in the WordPress dashboard and then click the Edit with Elementor option.
It is important to know here that if you are looking to make changes to the identity of your site then you need to head over to Site Settings in Elementor.
And it will show you the Site Identity options where you will be able to add a logo, favicon, site title and description.
Apart from this using Elementor Site Settings you will also be able to configure shop pages for your Woocommerce store without having to leave the Elementor editor in just a few clicks.
Manage this Website
The last option on the list is manage this website and clicking it will take you to the Elementor Cloud Website dashboard / control panel.
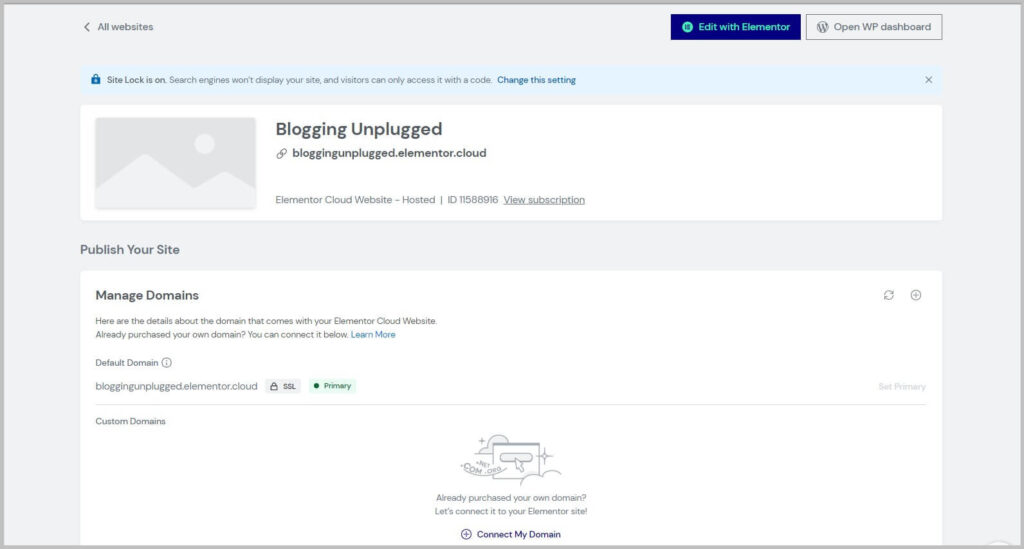
Here you will find various features included in the Cloud Website plan and you will be able to use them.
It is important to know that this is the web hosting management dashboard for your site hosted on Elementor Cloud.
As Elementor Cloud Website is a hassle free solution, you will see most of the features are pre-configure / built-in.
Here you will only be able to use a few settings such as
- Connect your domain
- Take backups or Restore
- Enable / Disable Site Lock
And more.
Elementor Cloud Website management dashboard
Now that you have a slight idea about this Elementor Cloud Website dashboard, in this section we will briefly discuss each of these options.
Quick links to visit website
When you enter the Elementor Cloud Website dashboard, the first option that you get is the quick links to visit your site.
These are
- Edit with Elementor
- Open WP Dashboard

Click Edit with Elementor will take you to the Elementor editor where you will be able to work on the homepage of your site.
And clicking Open WP Dashboard will take you to the WordPress dashboard / admin of your site.
Manage Elementor Cloud Website Subscription
After the quick links, the next option that you will see is View Subscription.

Clicking this option will take you to the subscription management page where you will find all the details about your Elementor Cloud Website subscription.
If you want to update your Billing or payment information or see billing history then this is the option for you.

Manage domains
As discussed before, you can connect your custom domain name with Elementor Cloud.
And it is this option that allows you to do this.
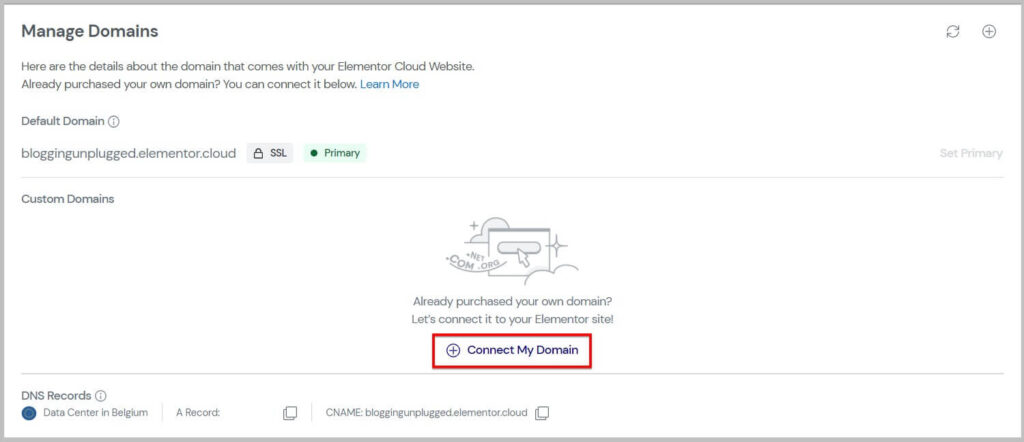
Here you will have to click Connect My Domain and a popup will appear with the A record and CNAME.
You will have to copy these values and edit DNS records in your domain management to point your domain to this.
Once done it will ask you to add your domain name without www and then you need to click Connect My Domain.
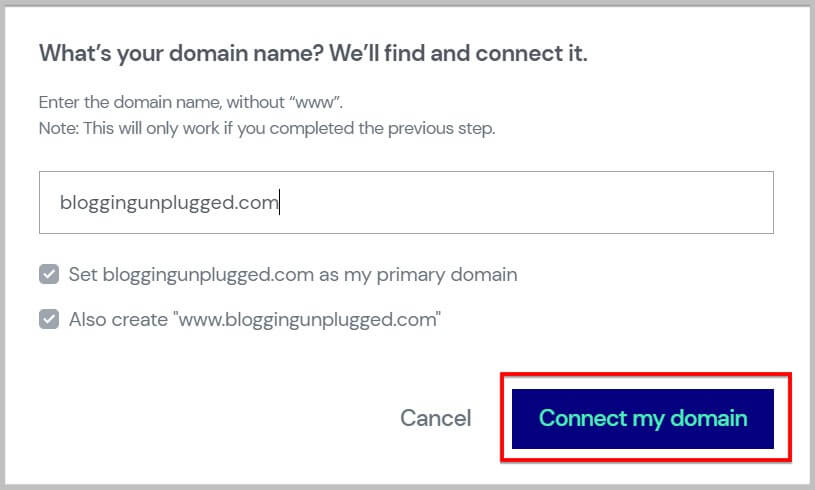
If you have correctly added the values then Elementor will find the domain and connect it.
Site Lock
One of the features that you get with the Elementor Cloud Website subscription is the Site Lock and you can use it to block both search engine bots and visitors from crawling / viewing your site while under construction.
It is important to know that Site Lock comes with a Pin Code and anyone with this Pin can view your site.
This feature comes enabled by default when you sign up with Elementor Cloud and to disable you need to click the toggle button on the top.

Apart from this you can also reset the Site Lock pin, View and Copy to share it.
Backups
After Site Lock, the next set of options that you will come across is Backups.
In this the first thing that you will notice is the option to create a new backup on the top.

Using this option you can take manual backups if your Elementor Cloud Website with just a few clicks.
Right below that you will find all the automatic daily backups taken by Elementor.
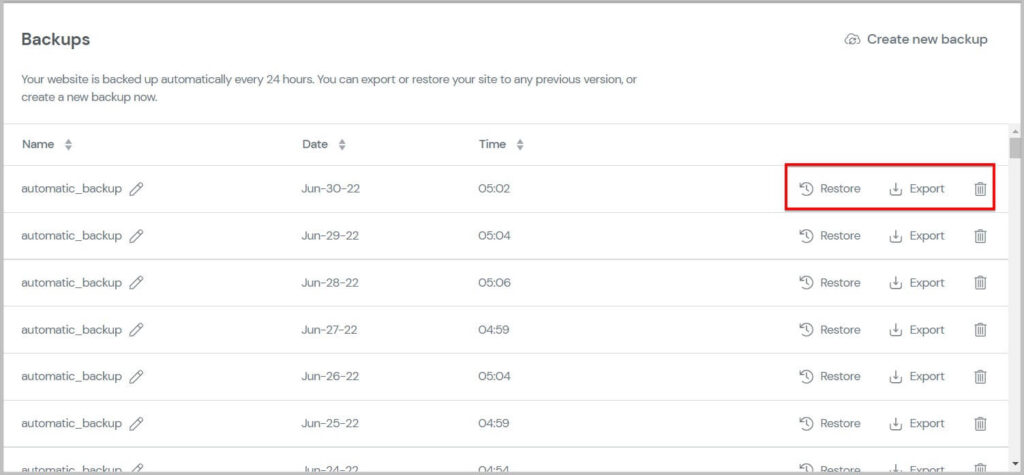
Next to each of these is the option to Restore, Export and Delete.
In case you want to rollback to a previous version then click Restore, to download the backup click Export and to delete permanently click Delete.
Reset WP Login Attempts
Moving on, the next option that you will come across in your Elementor Cloud Website dashboard is Reset WP Login Attempts.
And using this you can release the IP Address from lock out with just one click.

It is important to know here that Elementor Cloud Website is quite secure and one of the feature that it comes with is – it locks an IP Address for a period of 1hr if a user fails to login more than 5 times.
In such situations you can release the IP address from lock out in one click using this.
WordPress and Script Debug
Just below the Reset WP Login Attempts is the WordPress and Script Debug option.
This option comes disabled by default and when activated it displays errors and notices on the front end.

It is recommended that you do not turn on this option unless you are testing or modifying something on your Elementor Cloud Website.
Subscriptions tab in Elementor Cloud Website dashboard
After the Websites tab, the next tab that you will see in your Elementor Cloud Website dashboard is the Subscriptions.
And in this you will find all of your Elementor subscriptions be it the Pro plan or Cloud Website.
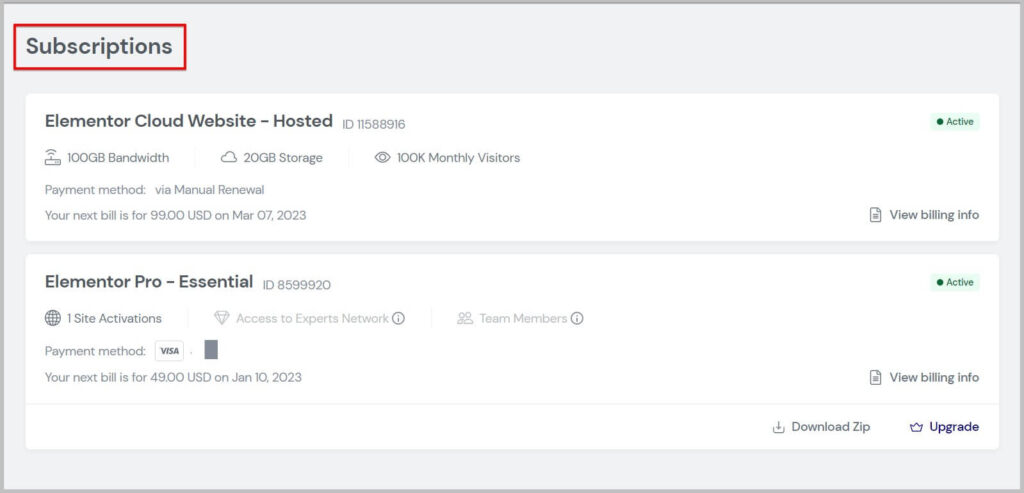
To manage your Elementor Cloud subscription, all you have to do is click the listing and it will show you all details and related options.
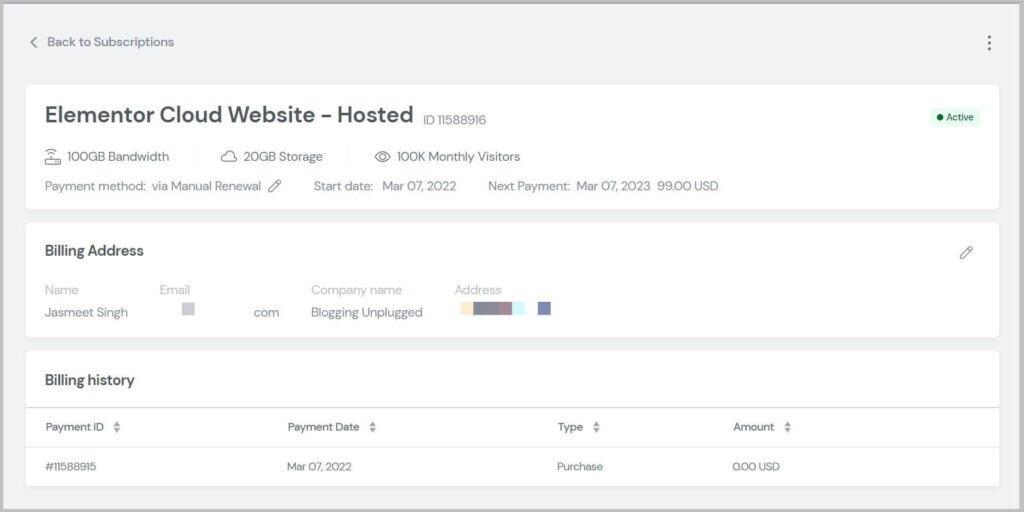
From here you will be able to enable or disable auto-renewals by clicking the Ellipsis menu on the top and it will show you the toggle button to do.

To change the payment method you will have to click Edit or the pencil icon right next to the manual renewal.

And a popup will appear allowing you to add a new payment method.
Just below this, you will see the Billing address option and using it you will be able to update / change the Billing address.

You can change this address by clicking Edit / pencil icon on top.
Following this is the Billing History section where you will find details related to purchase and renewals of Elementor Cloud Website subscription.

Teams tab in Elementor Cloud Website dashboard
Moving on, the next tab inside your Elementor Cloud Website dashboard is Teams.
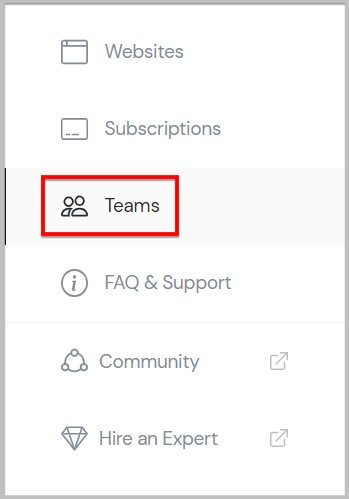
It is important to know here that Teams is a feature that is currently available in Elementor Pro Studio and Agency plans.
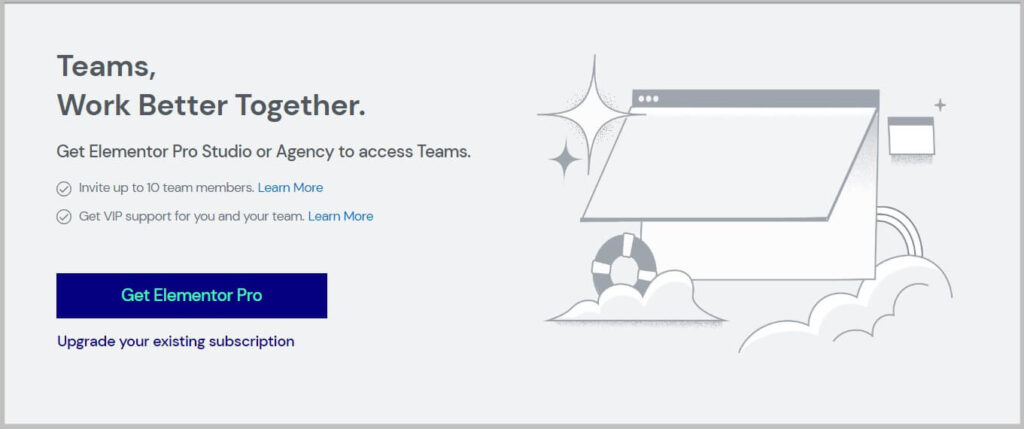
Using Teams you can invite upto 10 team member / collaborators and everyone gets access to VIP support.
FAQ and Support tab in Elementor Cloud Website dashboard
Following Teams is the FAQ and Support tab in your Elementor Cloud Website dashboard.
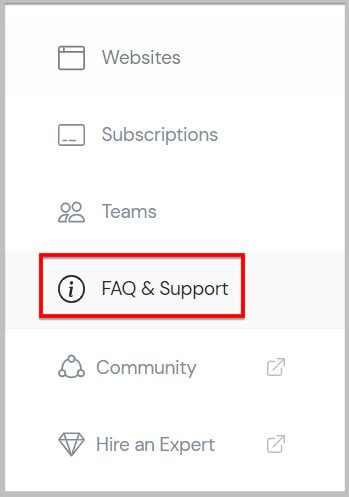
Clicking this will show you all the Support resources such as
- Tutorials
- Elementor Community
- Support Center
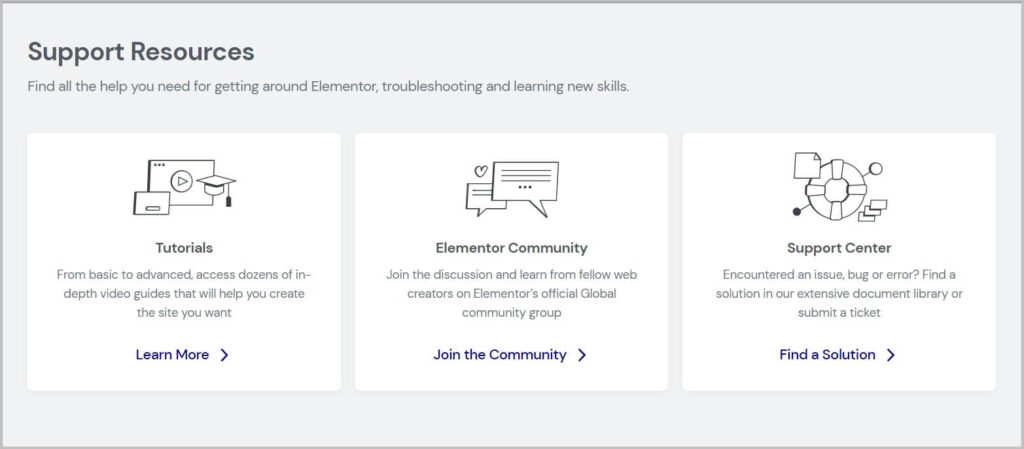
It is important to know Elementor has an extensive documentation and a dedicated Academy section where you will find tutorials in video format.
When you will click Learn more, it will take you directly to Elementor Academy.
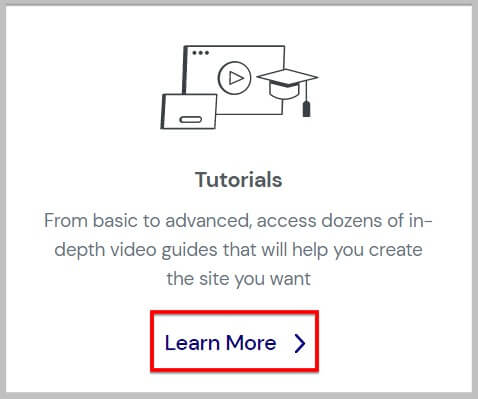
Kindly note- Elementor Academy is a free to use resource which means you will not have to pay anything extra for it.
After this, the next option that you will come across is Elementor Community.
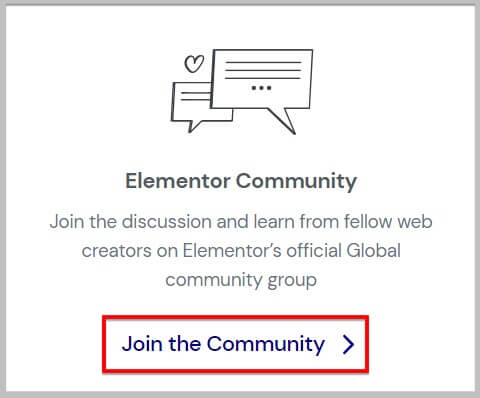
And clicking Join the Community will take you to the official Facebook group of Elementor.
In this group you can ask your questions related to both Elementor Pro and Cloud Website and the community members will help you.
In case you want to contact Elementor support then the Support Center option is for you.
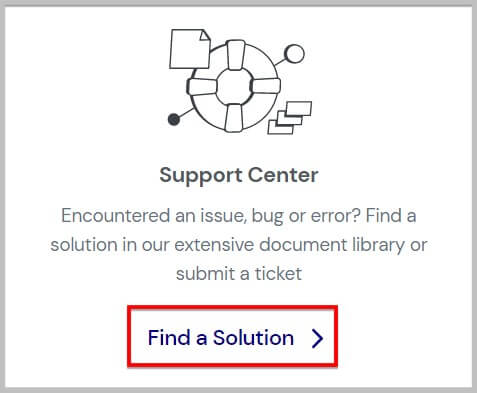
Here you will have to click find a solution and it will take you to the document libarary where you can either look for the solution or contact Support.
It is important to know here that Elementor Support is always just a few clicks away and you can get in touch via the option at the bottom right of the screen.
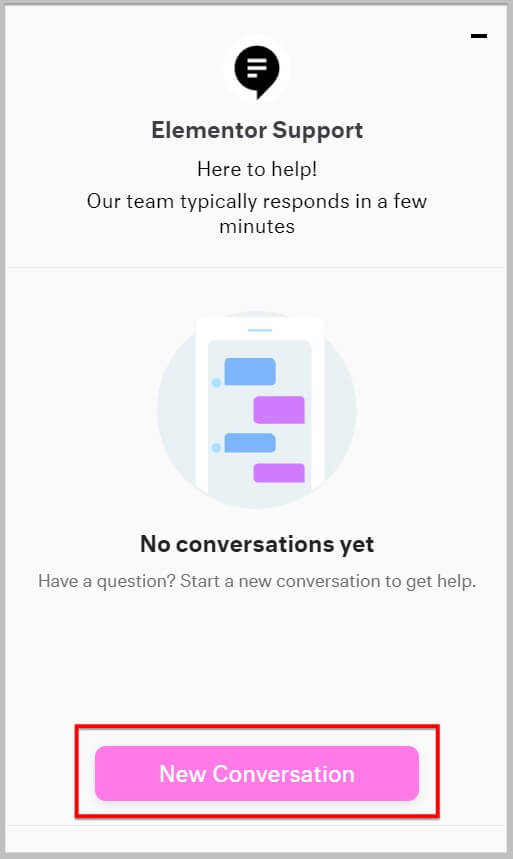
This same option is available in your WordPress dashboard as well if your site is hosted on Elementor Cloud.
The last two tabs in Elementor Cloud Website dashboard are the Community and Hire an Expert.
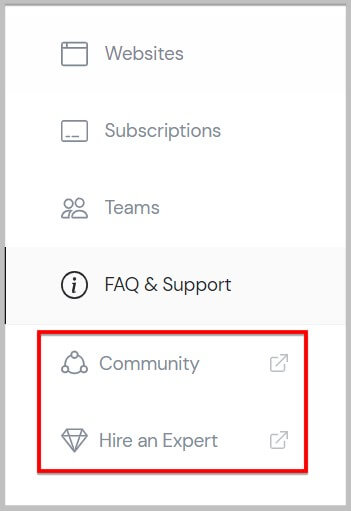
The Community tab will take you directly to the Elementor Facebook community.
And if you are looking to hire a designer / developer to build a site for you then clicking Hire an Expert will take you to Elementor Experts which is a platform from where you can hire experts for your projects.
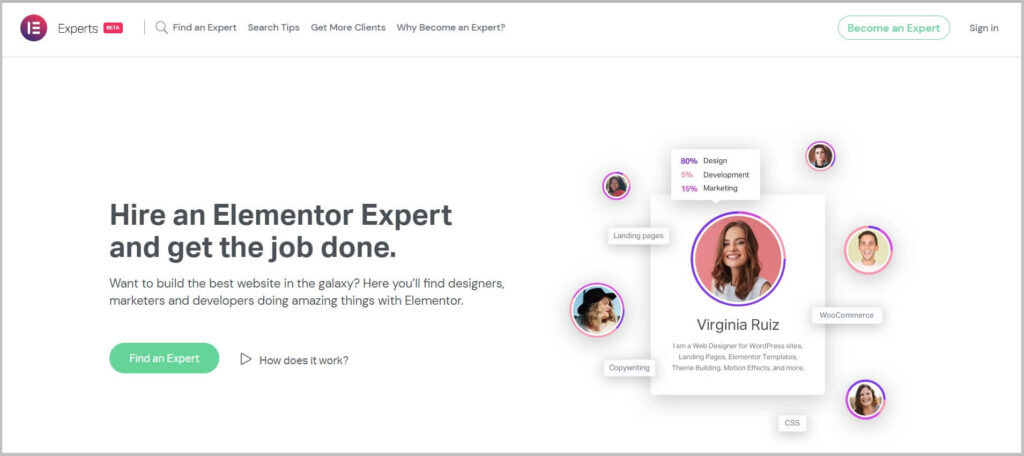
To find someone on Elementor Experts all you have to do is create a free account on Elementor, sign in to Elementor Experts platform using it, find an expert and contact them.
This concludes everything you need to know about Elementor Cloud Website dashboard. If you have liked what you have read and want to give Elementor Cloud a try then you can do that by clicking the button below.
Elementor Cloud Website pricing
As of now Elementor Coud has only one plan and it is priced at $99 / year.
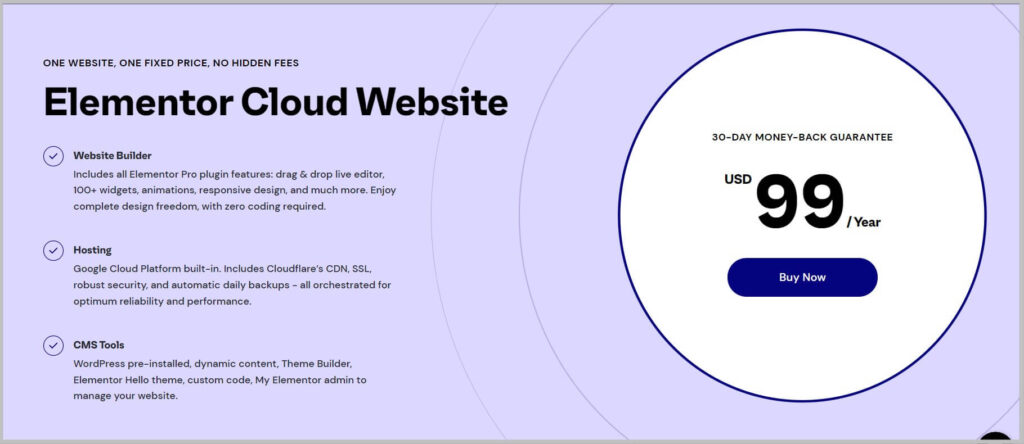
What’s included
- Built-in hosting from Google Cloud Platform
- CDN by Cloudflare
- Free SSL
- 20 GB Storage
- 100 GB Bandwidth
- 100,000 monthly visits
- Automatic daily backup
- Custom domain name connection
- Pre-installed WordPress
- Elementor Pro (All features)
- Hello theme
- 24/7 Support
And more.
Get started with Elementor Cloud
To get started with Elementor Cloud, the first step is to visit Elementor and click Pricing / Choose Your Plan on the homepage.

This will take you to Elementor’s pricing page where it will ask you to select a web creation path.
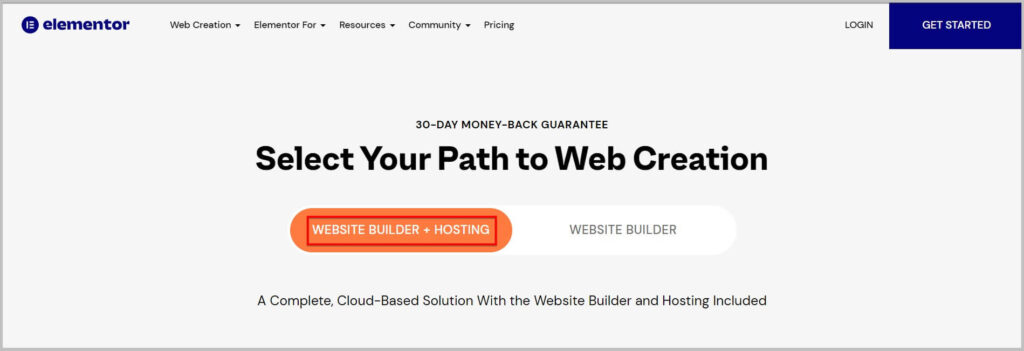
By default Website Builder + Hosting will be selected which is the Cloud Website plan by Elementor. Here you need to scroll down a little and click Buy Now under the $99 / year price tag.
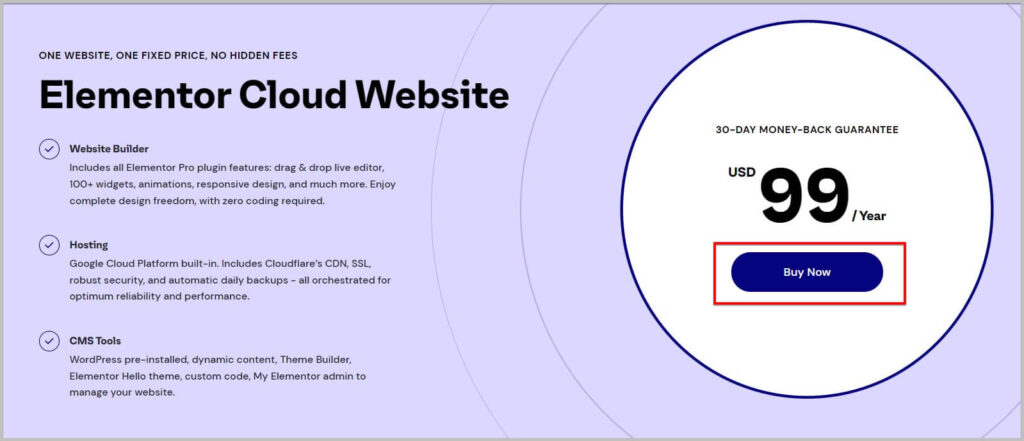
Clicking Buy Now will take you to the checkout page where you will have to provide some basic details and pay.
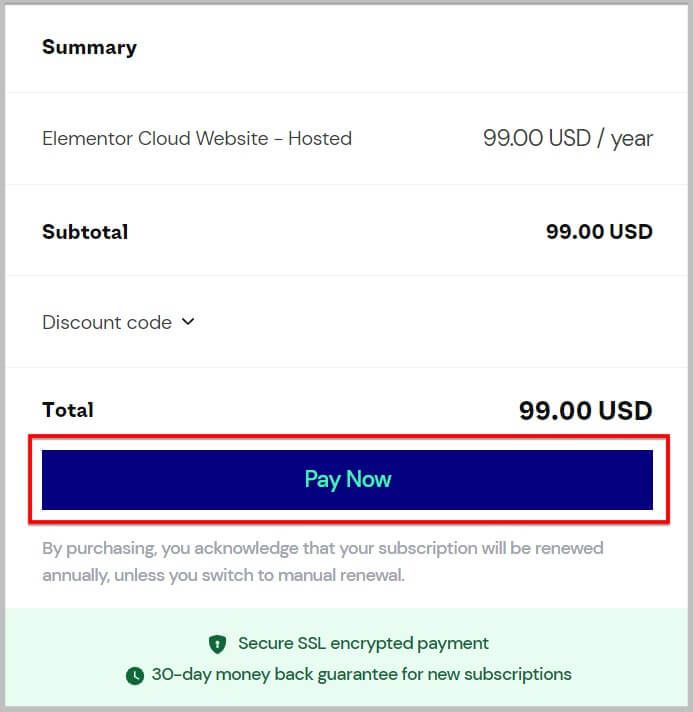
And that’s it you now have the Elementor Cloud Website subscription and its time to start building your site.
Having said that
I hope you will find this article helpful and are now familiar with the Elementor Cloud Website dashboard.
In case you have any queries feel free to reach out.
To stay up to date with our content we recommend subscribing to our YouTube channel and email list.
Also, don’t forget to join our Facebook group.

