How to Add hovering Pinterest Save button on images
After starting your blog the first thing that comes to mind is driving traffic and for that Pinterest is one the reliable sources.
If you are still not using this platform, I will strongly suggest you start today and within a few months, you will see the results.
A few days back while browsing Pinterest, I noticed the featured image of the blog was pinned more often than the dedicated pin. And that is not what we expected as we create dedicated pins for each of our articles.
On carefully looking into this, it made me realize that some people may not be using the Pinterest browser extension to pin the article and when they share using the social share buttons, it pins the featured image.
To fix this problem we found a quick solution which is adding a Pinterest hover button to images. This problem can be easily solved using a social share plugin known as Social Snap which is the social share plugin we are using on Blogging Unplugged and we highly recommend it
And much more. You can see all the Social Snap features by visiting the official website. Also, if you purchase the plugin using our link you get a 30% discount.
Also, another plugin we use and recommend for this purpose is Tasty Pins. It is a Pinterest Optimization plugin that offers a lot of features that will help you grow your Pinterest traffic.
Before we move further, it is also important to know before using Social Snap and Tasty Pins we tried using a lot of free plugins to solve this problem and most of them were either not compatible with the layout or theme or caused other problems. So we decided to go with this option.
Also, we think by adding this button not only will it give the people an option to pin other images but also will encourage them to share more on Pinterest because whenever the mouse pointer will hover over the image a prominent Pinterest logo or Save button will appear.
Moving ahead,
This task can be accomplished in 2 ways
- Using plugins
- Manually
In this article, we will be discussing both ways of doing it for WordPress.org and Blogspot. In case you are WordPress.com user and looking for a way to implement this then let me tell you if you are using the free plan you cannot edit the code or install plugins to add this functionality to your blog. (WordPress.com vs WordPress.org)
Having said that,
The first method to implement Pinterest Save button we will discuss in this article is using plugins. It is the easiest way to implement this and is the recommended way.
How to Add Pinterest Save button to Images in WordPress
Before we move further, it is important to know while we were implementing this, we came across an official plugin by Pinterest that used to help add this feature to your website.
Unfortunately, the plugin was not available for download and was close on Feb 15th, 2019.
Moral of the story– There are currently no official plugins by Pinterest that help with this. However, other plugins can help you with this and we will be discussing them later in this article.
How to add hovering Pinterest Save button in WordPress using plugins
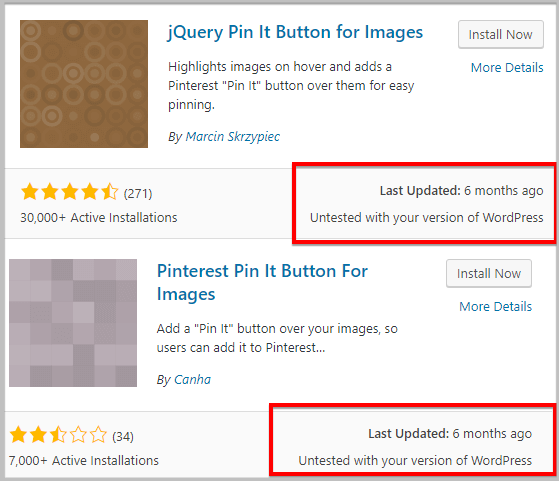
If you want to add the Pinterest Hover Button using a plugin, the process is very simple and straight forward. As mentioned before, while writing this article we did a search for free plugins that will help you implement this functionality and we found some of these plugins were not updated for a long time and are not compatible with the current version of WordPress.

We do not recommend using any such plugins as using them can be a threat to your website security.
For this purpose, you can use any of the 2 plugins mentioned below depending on needs
The first plugin on the list is Tasty Pins and using this plugin you can add Pinterest save buttons to images in WordPress with just a few clicks.
In case you are already using a Social share plugin and want to just add this functionality and want to optimize your blog for Pinterest then the Tasty Pins plugin is for you.
In case you are looking to switch your social share plugin to something better then I will suggest navigating to the Social Snap section using the table of contents in the sidebar.
Moving forward,
Next up in this article is
How to Add hovering Pinterest Save button to Images in WordPress manually
Before we begin this section, it is important to know implementing Pinterest Save button on images in WordPress is very simple if you are comfortable with adding code to your website.
In case you are not then I highly recommend you doing this via Social Snap or Tasty Pins. Tutorials on how to do this using both plugins have been discussed in detail above.
Having said that,
In this section we will be covering the following topics
- Creating Pinterest Save button
- Adding the code manually
- Inserting the Pinterest Pin it button code using plugin
- Disable pinning of images manually
Also, later in this article we have covered how can you add Pinterest Save button on images in Blogspot. If you are a Google Blogger or Blogspot user then you can navigate to that section using the tables of content in the sidebar.
So without further ado, lets start the tutorial
How to Create Pinterest Save Button for images
Whenever we use the word manually some of you may think the process may be a little complicated and not for you.
But things are different this time and the process is simple and very easy to execute.
To add the Pinterest button to images, the first thing you need to do is visit the Pinterest widget builder and you will see a tool just like the screenshot below

There are 3 types of Save button you can create using this tool
- One Image– This button will let the people share only a particular image from the page that you choose. Yes, you heard it correctly. You need to provide the link of the image that you want to be pinned.
- Any Image– The next option you get is “Any Image”. Using this option you will be able to create a button that will give the people the option to choose and share from various images on your post or page.
- Image Hover– The last option you get is to create the hover button. With this option, you will be able to add a button on images that will only be visible when someone takes the mouse pointer on them. It can be a Pinterest logo or a rectangle Save button depending on what type of button you have implemented.
Moving forward,
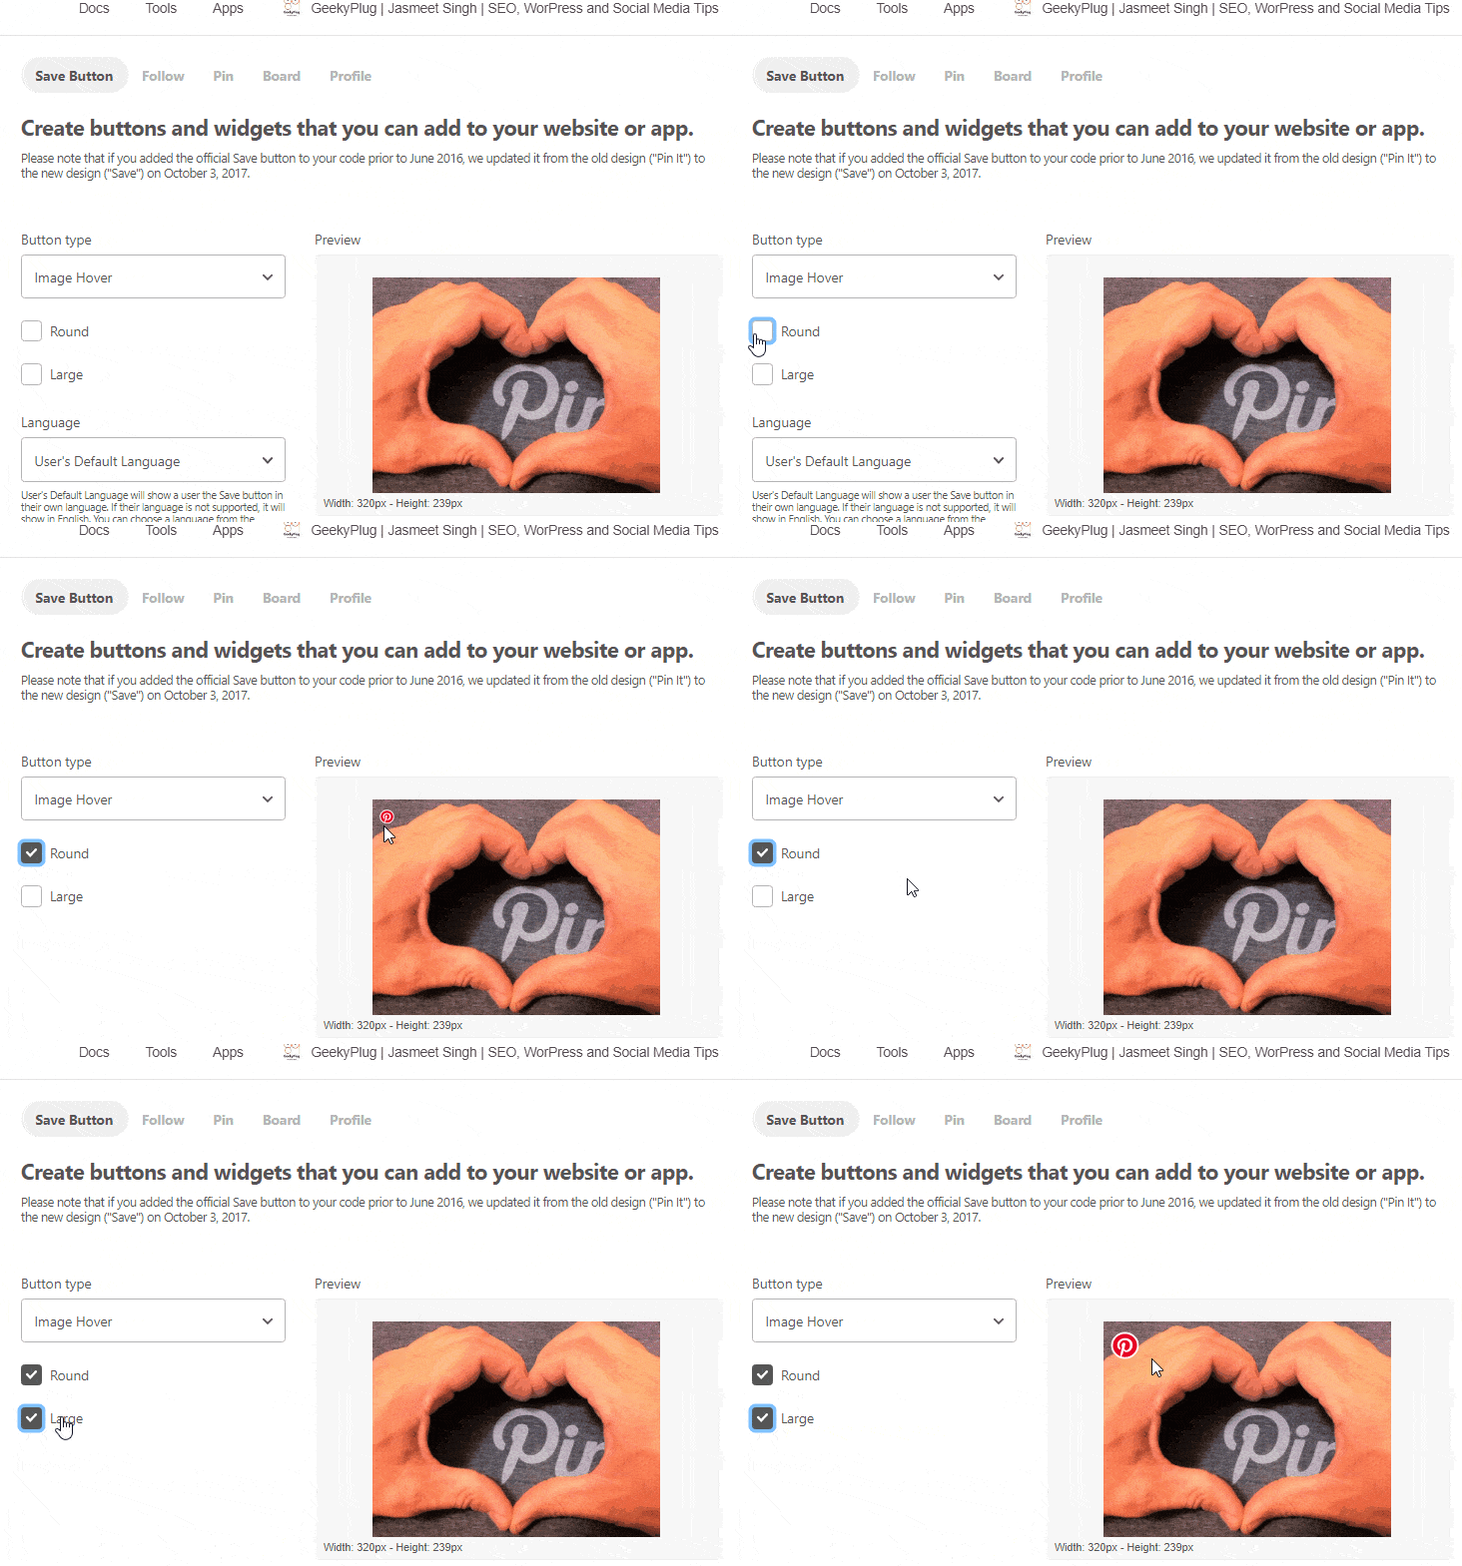
When you select the “Image hover”, you get 2 option below it
- Round
- Large
If you want a round Pinterest button on your images, pick round and to increase the size select “Large”.

What if you don’t want a round button. By default, Pinterest provides you with the rectangle Pinterest Save Button. Again to increase the size you have to select “Large”. Here’s how it looks

Also, when you go for the Save button rather than the Pinterest logo, you can select the language as well. If you have a blog in a language other than English. This is a great option for you.
How to add Pinterest Save button on images in WordPress without plugins
Once you are done making all the choices, you will get a code that you need to add to the footer of the website. You will find this code below the preview image.

Now, in the other tab of the browser login to your WordPress dashboard. If you are comfortable adding it to the footer of your website, the process is very straight forward else you can do it via the Insert Header Footer plugin which is explained after this part.
If you are comfortable in adding the code navigate to Appearance >> Theme Editor
It will take you to a new screen within the WordPress dashboard and on the right, you can see the list of all your theme files. Search for the file with the name Theme footer or footer.php
When you find the file click it and scroll down till you find the </body> tag. Now paste the code right above it. Below is a screenshot for reference

The last thing you need to do is click Update File to save the changes and clear cache in case the changes are not reflected.
Using Insert headers and footers plugin
Like I mentioned for the people who are not comfortable adding code directly to the website can use Insert headers and footers plugin.
This is a free plugin and you can download it via this link. This plugin is also helpful if you want to
- Verify your website on Google Search Console
- Add Google Analytics to your WordPress site
- Verify your website on Pinterest
- Verify your website on Bing Webmaster Tools
Once you have downloaded and installed the plugin, you will find a new option in Settings “Insert Headers and Footers”. Click it and it will take you to the plugin settings where you will see 2 empty boxes labeled as
- Scripts in header
- Scripts in footer
Add the Pinterest Save button code in the Scripts in Footer box

The next thing you need to do is click Save to save the changes you have made and that’s it.
You have successfully implemented the Pinterest Save button on images.
A word of advice– When you add such code snippets to your website make sure you add them to Child theme rather than the main theme or else you will lose all the changes you have once the theme is updated.
After you are done implementing the Pinterest Pin it button on the images. The next question that comes to mind is
How to tell Pinterest not to save an Image
This thing again is pretty easy to execute and all you need to do is go to a page or a post and click Edit. It will take you to the WordPress editor.
If you are a Gutenberg user, all you have to do is locate the image that you do not want people to pin and select the image block. When you select the image block, it will show you three dots. Click on it and it will show you a menu where you need to select Edit as HTML.
When you select Edit as HTML, it will show you the code just like the screenshot below

Remember images are always wrapped in <img> tag. When you find the <img> tag, the next thing you need to do is add data-pin-nopin="true" at the very end. Here is what it looks like after adding the tag.

When you add this attribute WordPress will show you an error similar to the screenshot below.

To resolve this error you need to click Convert to HTML. On doing so your image block will permanently convert to HTML.
The final and the most important step in the process is saving the changes you have made.
If you are using the Classic editor then, when you enter the WordPress editor you will see 2 options visual and text.
You need to select text and search for the image code as suggested above and here’s how the code looks like

Once you find the image, all you need to do is add data-pin-nopin="true" at the very end and click Update to save the changes.
How to add Pinterest Pin It button on Blogger
Blogger or Blogspot is a free and very popular blogging platform by Google. Adding Pinterest Save Button to images in Blogger is very similar to how it is done in WordPress manually.
The first step in the process is creating the save button which is done exactly the same way as explained earlier. You need to visit the Pinterest Save Button builder and create one for your Blogspot blog.

After you have created the button, the next thing you need to do is log in to your Blogspot dashboard and head over to Themes >> Edit HTML
It will take you to the code editor and you need to find the </body> tag. For this, you can you the search function that is Ctrl + F for Windows and Cmd + F for Mac’s.

Add the code you have generated using the widget builder just above it.

After adding the code, click Save Changes and visit any page on your blog to see if the changes are reflected.
Congrats. You have successfully implemented the Pinterest Save button to the images on your Blogspot blog.
How to exclude images from pinning on Pinterest
To exclude images from being pinned on Pinterest, visit any Page or Post and click Edit. It will take you to the Blogspot editor.
In the toolbar, at the very beginning, you will see 2 options namely Compose and HTML. You need to select HTML, it will take you to the code editor where you need to search for the image to be excluded.
To exclude images you need to add data-pin-nopin="true" at the very end of the code. Here is a screenshot

After making the changes, click Update to save the changes.
And that’s all
Once you have implemented the Pinterest Save button or Pin It button, I m sure it will encourage the visitors to share your content more on Pinterest leading to a boost in traffic.
While we are on the topic of Pinterest and boosting traffic, I will suggest you set up Pinterest Rich Pins after you are done adding the save button and learn How to hide pin images in blog posts
As you know, SEO helps in bringing traffic from search engines. To optimize your website for search engines make sure you read our On Page SEO Cheat Sheet.
With that said, I hope you find this tutorial helpful and are able to add the Save button. If you have any questions feel free to send them our way.
Also, don’t forget to share this article on social media and follow us there. Subscribe to our newsletter and receive the latest updates and amazing Blogging Deals in your inbox.


Thanks so much for this detailed guide!!
Thank You Nina
Useful post. Thanks for the information to help me step up my Pinterest and blogging game
Thank You
Thank you for sharing the details on this – I need these type of step by step details.
Thank you Lisa
Thank you so much for such clear and ‘easy to follow’ instructions for installing the Pinterest Hover Button on WordPress. I am very much an ‘oldie’ amateur blogger and am usually daunted with ‘techy’ instructions !!
Thank you Lisa glad you found the tutorial helpful
Hi thanks for the tips.
I am using wordpress & optimize press. may I know what do you mean by “Child Theme” … you wrote this under Using insert headers and footers plugin
Thanks !
Hi Sofia
A child theme inherits the properties of a parent theme but when the theme gets updated it retains the changes you have made. In case you make changes to the parent theme, everything will be reverted when you update it.
In case you have any queries regarding this feel free to reach out.
Thank You
Jasmeet
Omg!! Thank you so much for this easy guide!
Thank You Karimah