What’s new in Elementor Pro 3.1- Custom Code, Code Highlight widget and more
In our previous article we discussed everything you need to know about the Elementor 3.1 update which was for the free version of the plugin and was released on 24th January 2021.
Keeping the trend alive, in this article we are going to talk about what’s new in Elementor Pro 3.1 which is the latest version of the premium Elementor plugin.
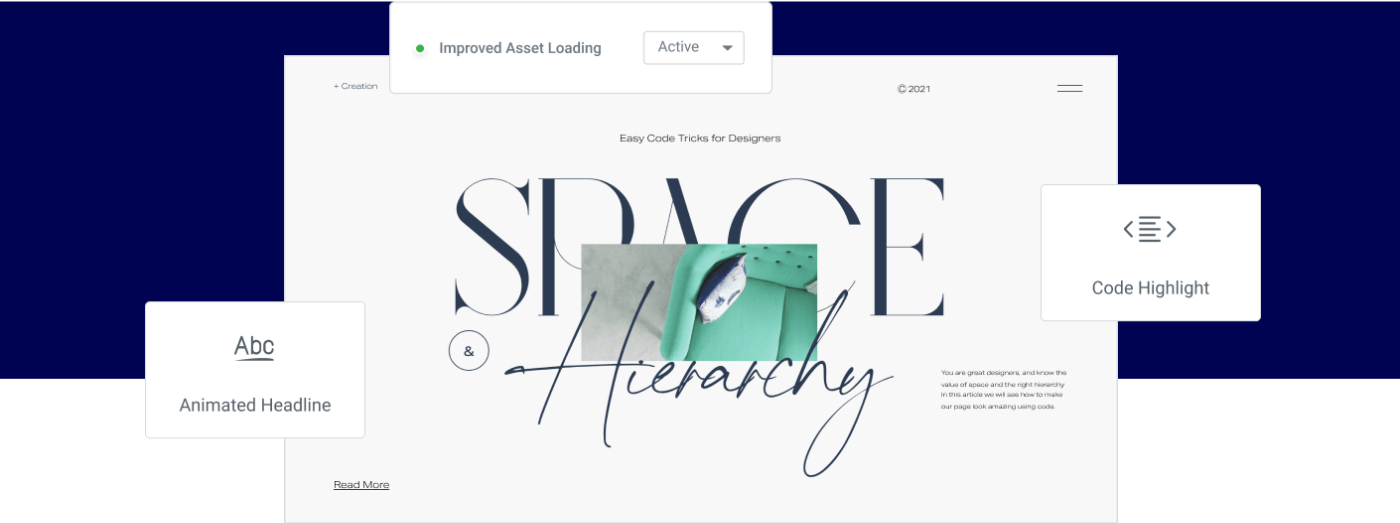
This update was released on 16th February 2021 and it included features like custom codes, new code highlight widget and a few performance related improvements.
Before we move forward, it is important to know that in case you are using the free version of Elementor then you will not get access to these features.
If you want to give these a try or want to use them in your design then you will have to get the pro version of the plugin and you can do that by clicking the link below.
What’s new in Elementor Pro 3.1 update- Everything you need to know
Elementor is a plugin that thrives to make the website design and development process as easy as possible and Elementor Pro 3.1 update is focused on just that.
As discussed above, this version of the Elementor Pro plugin comes with features like
- Custom code
- New code highlight widget
- Improvement to Animated Headline widget
- Performance updates
And more.
Below we have shared all the topics we have covered in this article and you can navigate to your favorite sections by clicking on the link.
Also, before you update your plugin to the latest version we recommended that you update everything on a staging site first and then take a backup before implementing the changes on the live site.
For taking updates we recommend you use Updraftplus plugin.
Introduction of Custom code in Elementor Pro 3.1
Custom code is a very useful feature that has been included in the Elementor Pro 3.1 update.
And using it you can add code snippets to various parts of your site without having to worry about editing theme files or needing to install other plugins for this.
I’m sure you are familiar with Google Analytics and in order to track visits using it you are required to add a tracking code in the head section of your site.
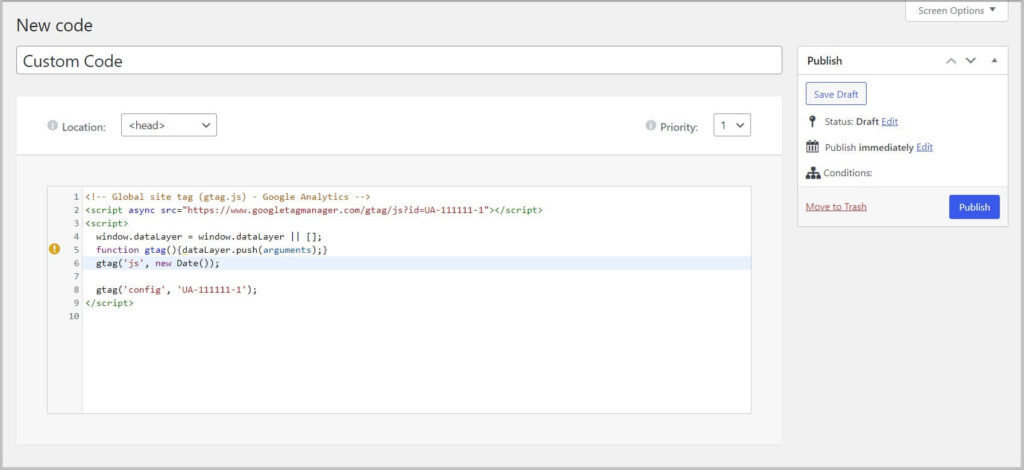
With the help of Custom code in Elementor Pro 3.1, you can do this easily.
Apart from adding Google Analytics, you can also use this feature for
- Adding Facebook pixel
- Pinterest site verification
- Bing webmasters tool verification
- Google search console verification
And more.
If you are a beginner and building your website using Elementor then the Custom code feature will make your life much easier.
Keeping this in mind, you can find the option to add Custom code under the Elementor menu in your WordPress dashboard.
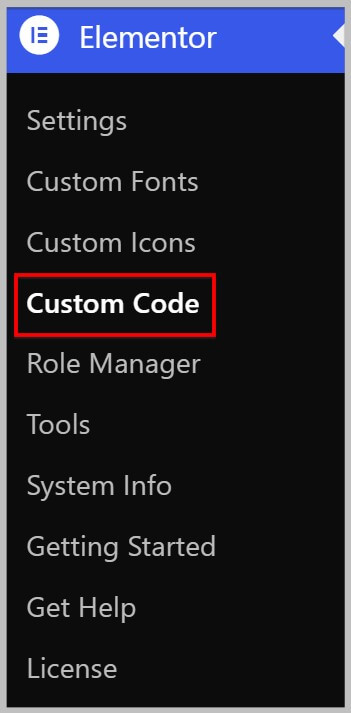
When you click Custom Code, you will see a Add a new Custom Code button
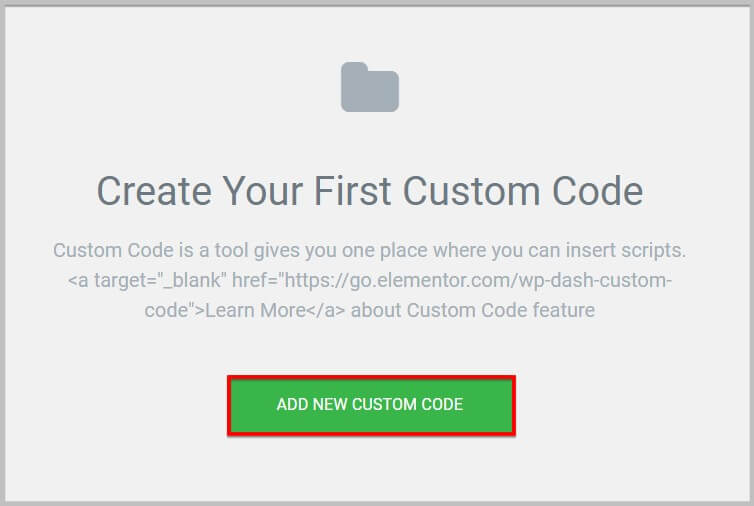
And on clicking it, it will show you the editor where you can add the code snippet.

It is important to know that it allows you to select the location and priority level.

In case you are wondering what’s the use priority level then let me tell you it helps determine the order of execution, the lower the number higher the priority level of the code.
As far as the location is concerned, it gives you 3 option
- <head>
- <body> start
- <body> end
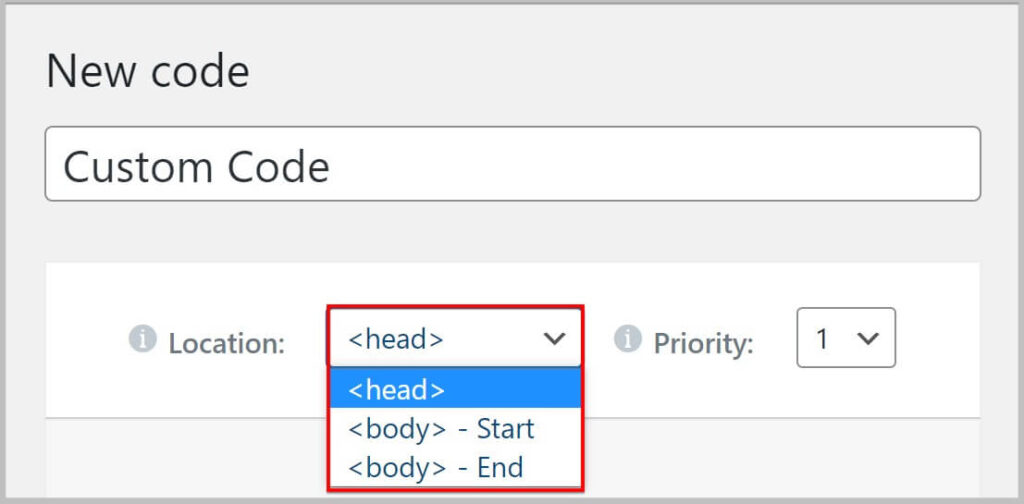
Out of these you can select one as per your requirement.
Apart from this, it also lets you select conditions for in case you want to add the custom code to specific pages, posts or templates.
New Code Highlight widget in Elementor Pro 3.1 update
Elementor is a plugin that is used by people from different professional backgrounds.
And many of its users are designers, developers and teachers that create content which require sharing of code snippets.
Before the Elementor 3.1 update, to add code snippets to Elementor posts you were required to use a third party plugin.
This has changed in the pro version 3.1 as Elementor has introduced the new Code Highlight widget that allows you to share these code snippets in a much better and engaging way.
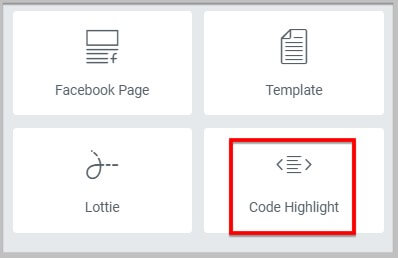
When you add this widget to a page, the first thing that you will notice is that it allows you to select the language.

Another interesting and helpful feature that you will find in the Code Highlight widget is Copy to clipboard.

And using it you can display a copy button on the syntax that will allow people to copy the code snippet with just a click improving the user experience.
Apart from this, the Code Highlight widget also gives you the option to select a theme, adjust font size and height.
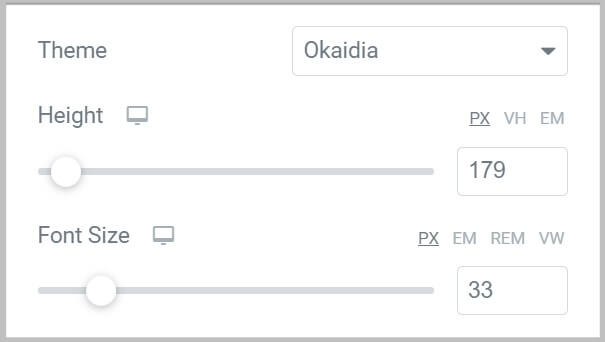
All in all this widget is a nice addition to Elementor Pro as you will no longer have use third party plugins to achieve this.
Improvements to Animated Headline widget in Elementor Pro 3.1
Animated Headline is a popular widget that allows you to create animated and highlighted headline in Elementor Pro.
And in premium version 3.1, it has received a few updates.
The first change that has been made to this widget is that, it now allows you to add dynamic tags to the Rotating text field.
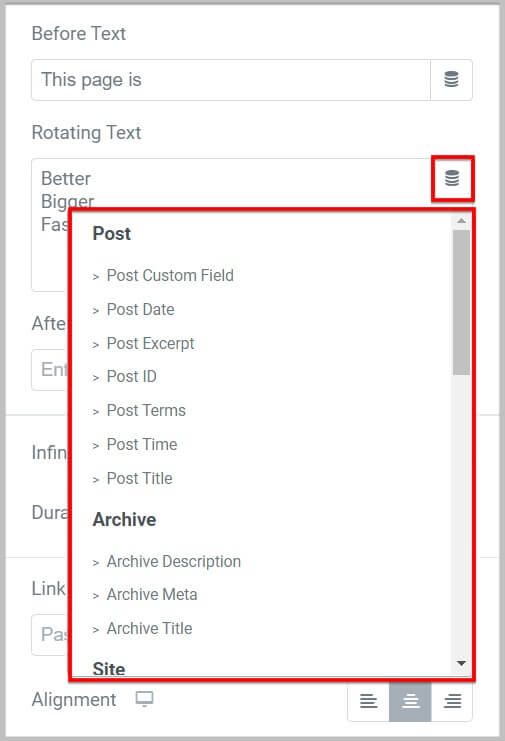
Along with this you will be able to customize and control your typing effects by mixing and matching colors an background colors.
The next change that you will see in the Animated Headlines is that the option of loop and timing and been introduced.
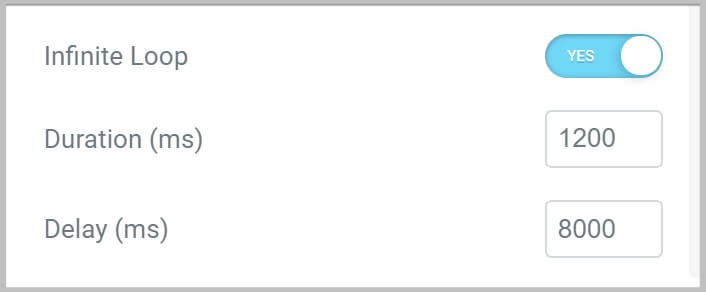
Using the timing option you will be able to set the duration and delay for each loop.
And the Loop option will allow you to control if you want to freeze the animation or continue to let it play till infinity.
Improve Asset loading in Elementor Pro 3.1
In Elementor Pro 3.1, Asset loading has received an update where when you enable this feature in the Experiments, it will only load the JavaScript code when the widget is being used.
This means Elementor Pro will only load a widget on a page if it is being used which will result in smaller file size and improved loading times.
To enable this feature, you are required to manually activate the Asset loading in Experiments.
And for this you need to navigate to Settings under the Elementor menu in your WordPress dashboard.
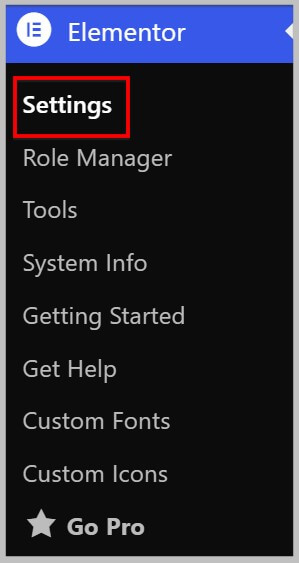
There you will see the Experiments tab in which you need to locate the Improved Assets Loading feature.
Once found you can enable by using the dropdown.

It is important to know that this feature is by default disabled and we will recommend you not using it on a live site until you have thoroughly tested it on a staging site.
This concludes all the new features, updates and improvements included in the Elementor Pro 3.1 update.
If you have like what you have read and want to give Elementor Pro 3.1 a try then you can click the button below to get the plugin.
Get started with Elementor Pro 3.1
Now that you are familiar with the Elementor Pro 3.1 update, the next step is to get the plugin.
To get Elementor Pro 3.1, the first step is to visit Elementor’s website and then click Pricing on the homepage.

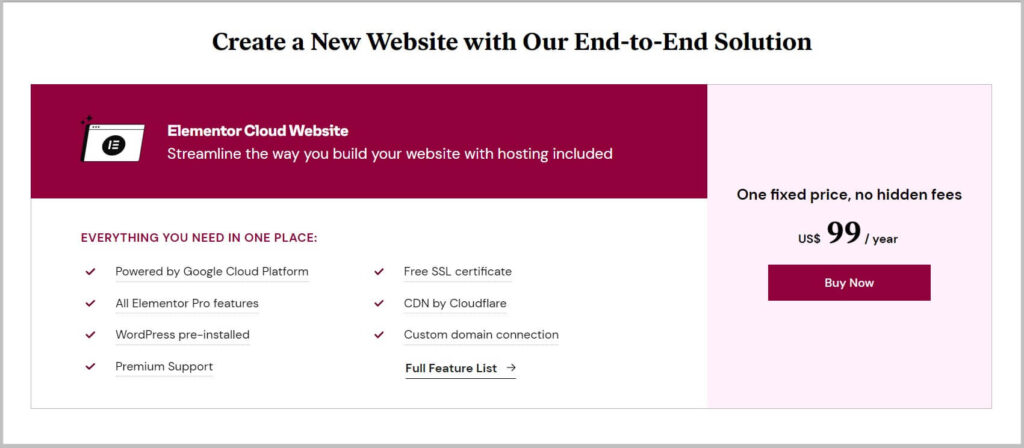
Doing this will show you all the Elementor Pro plans and here the first plan that you will come across is the Elementor Cloud Website which is the web hosting plan that includes the Pro version of the plugin.
See- How to sign up for Elementor Cloud Website
In case you are looking for a reliable web hosting company then you must give this plan a try as your site will be hosted on Google Cloud which is known for its reliability and security.
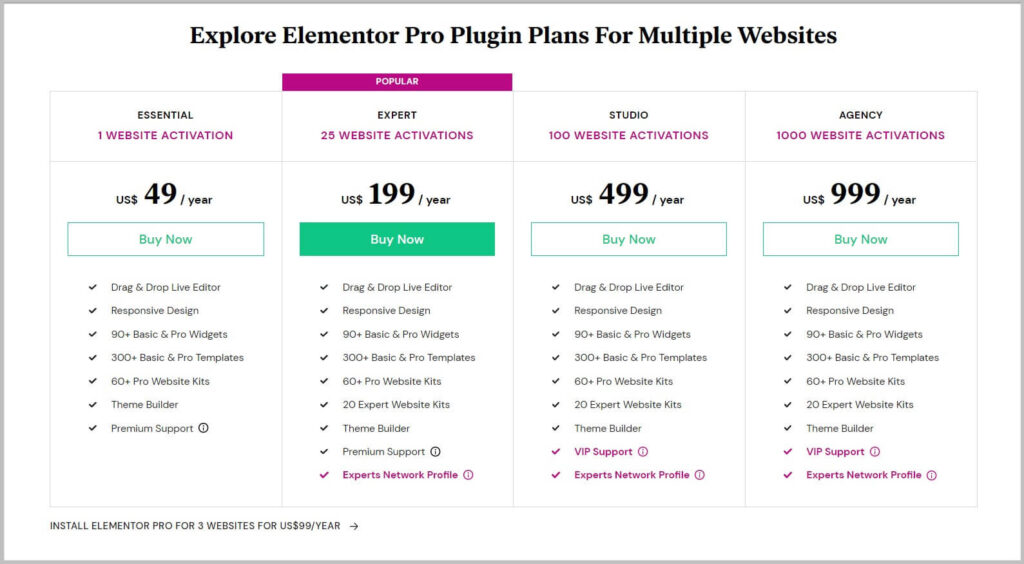
If you already have website and are just looking to get the Elementor Pro 3.1 plugin then you will have to scroll a bit and you will come across all the Elementor Pro plans.
Here you need to select a plan based on your requirement by clicking Buy Now.
On clicking Buy Now, it will take you to the checkout page where you will have to create a free account on Elementor and provide some basic information.
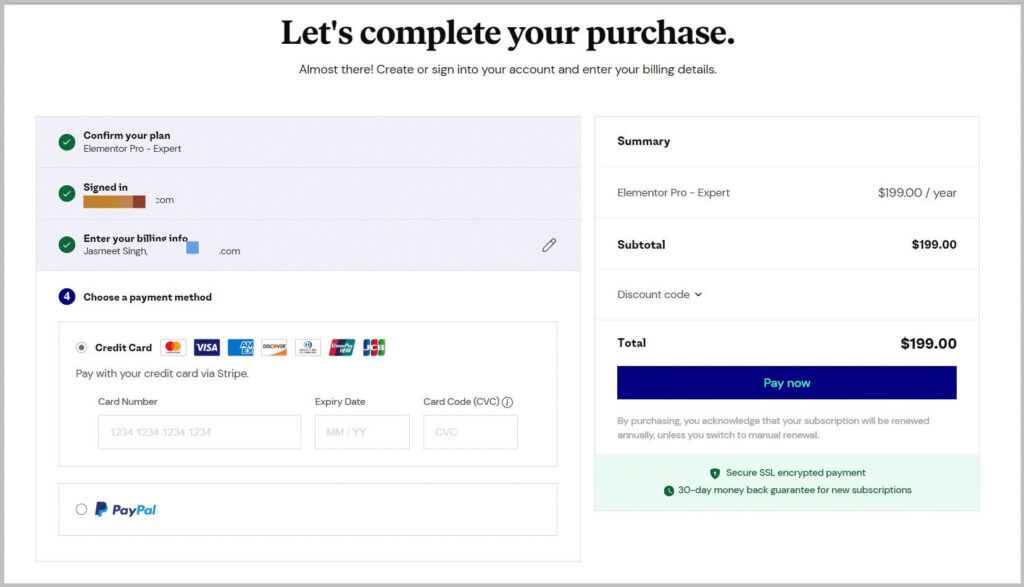
Once done, you will have to select a payment method and pay.
And that’s it you have have successfully bought Elementor Pro 3.1 and in the next step you need to install it on your site.
For this you can follow our tutorial on downloading Elementor Pro and installing it.
Having said that,
I hope you will find this article helpful and now know what’s new in Elementor Pro 3.1.
In case you have any queries feel free to reach out, we will be happy to help.
To stay up to date with our content we recommended subscribing to our YouTube channel and email list using the form below. Also, don’t forget to join our Facebook community.

